


EVENTS
|
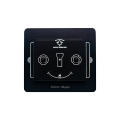
Detailed Explanation of Custom Antenna for DJI Cinema HD Transmission (Transmission 100+) and Instructions for Enabling FCC and Channel SelectionDetailed Explanation of Custom Antenna for DJI Cine High-Definition Video Transmission (Transmission 100+) and Instructions for Enabling FCC and Channel Selection DJI Transmission, a broadcast-grade product, is an all-in-one device designed for filmmakers, integrating receiving, monitoring, and recording capabilities. In specialized shooting scenarios, customized antennas can unlock even higher performance from the Transmission system. This provides filmmakers with more options in complex, unique, and challenging filming environments, leading to the development of Transmission 100+ to meet these demands. The Transmission 100+ antenna more than doubles the performance compared to the stock antenna, effectively addressing the specific challenges filmmakers encounter in their work. The following section will explain the operational logic of DJI Transmission and the installation and usage of Transmission 100+. This article will cover three main aspects: 1. How to enable FCC mode, 2. Channel usage methods, and 3. Antenna installation procedures. Finally, a bitrate comparison test between the modified antenna and the original antenna will be presented. 1)How to Enable FCC Mode? video First, ensure both the monitor and receiver are powered on and successfully connected. Locate and tap the three-dot icon in the lower-left corner of the monitor screen. This will bring up a new interface as shown in Figure (1). Next, tap the "About" button to navigate to another new interface shown in Figure (2). Then, repeatedly tap the "Firmware Version" option several times until a new interface appears. Figure 1 Figure 2 After the new interface shown in Figure (3) appears, scroll down to the last option labeled "Debug" and tap to enter. This will bring up the "Debug code" button as shown in Figure (4). Tap it to proceed. Figure 3 Figure 4 When we tap to enter the Debug code, we then tap the text box, which will bring up an interface for entering your key to unlock FCC mode. This key is 453.afkq_/ as shown in Figure (5). Figure 5 After entering the key, tap "OK" in the lower right corner. The screen will return to the interface shown in Figure (4). At this point, you need to repeatedly tap the button displaying the number "2" several times. Upon completing this step, the FCC mode will be successfully activated.Next, tap the small icon shown in Figure (6) to enter the channel interface displayed in Figure (7). You can then select the appropriate channel based on your specific usage scenario and requirements. Figure 6
Figure 7 2).Channel Usage: How to Select the Right Work Channel After Enabling FCC Mode After completing the FCC setup, simply navigate to the channel selection page. You can then choose between automatic or manual mode. In 20M bandwidth, there are twenty channels available, while in 40M bandwidth, ten channels are provided for selection。Figure(8)
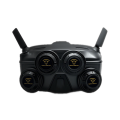
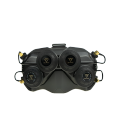
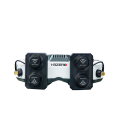
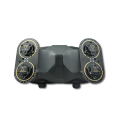
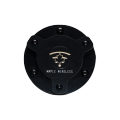
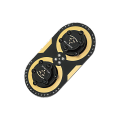
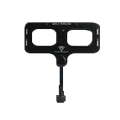
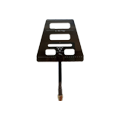
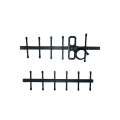
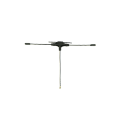
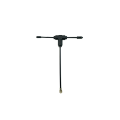
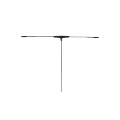
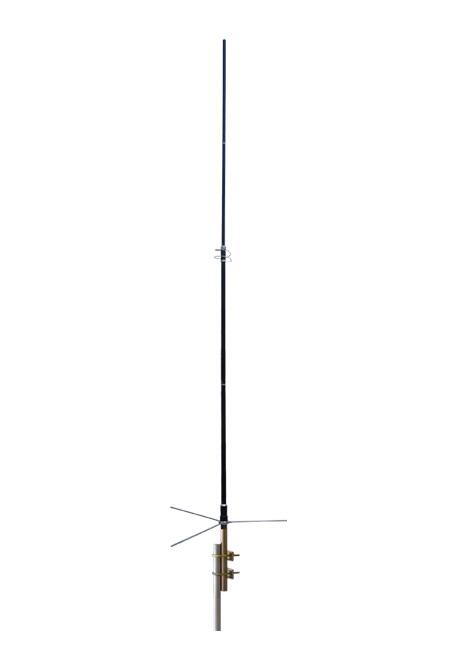
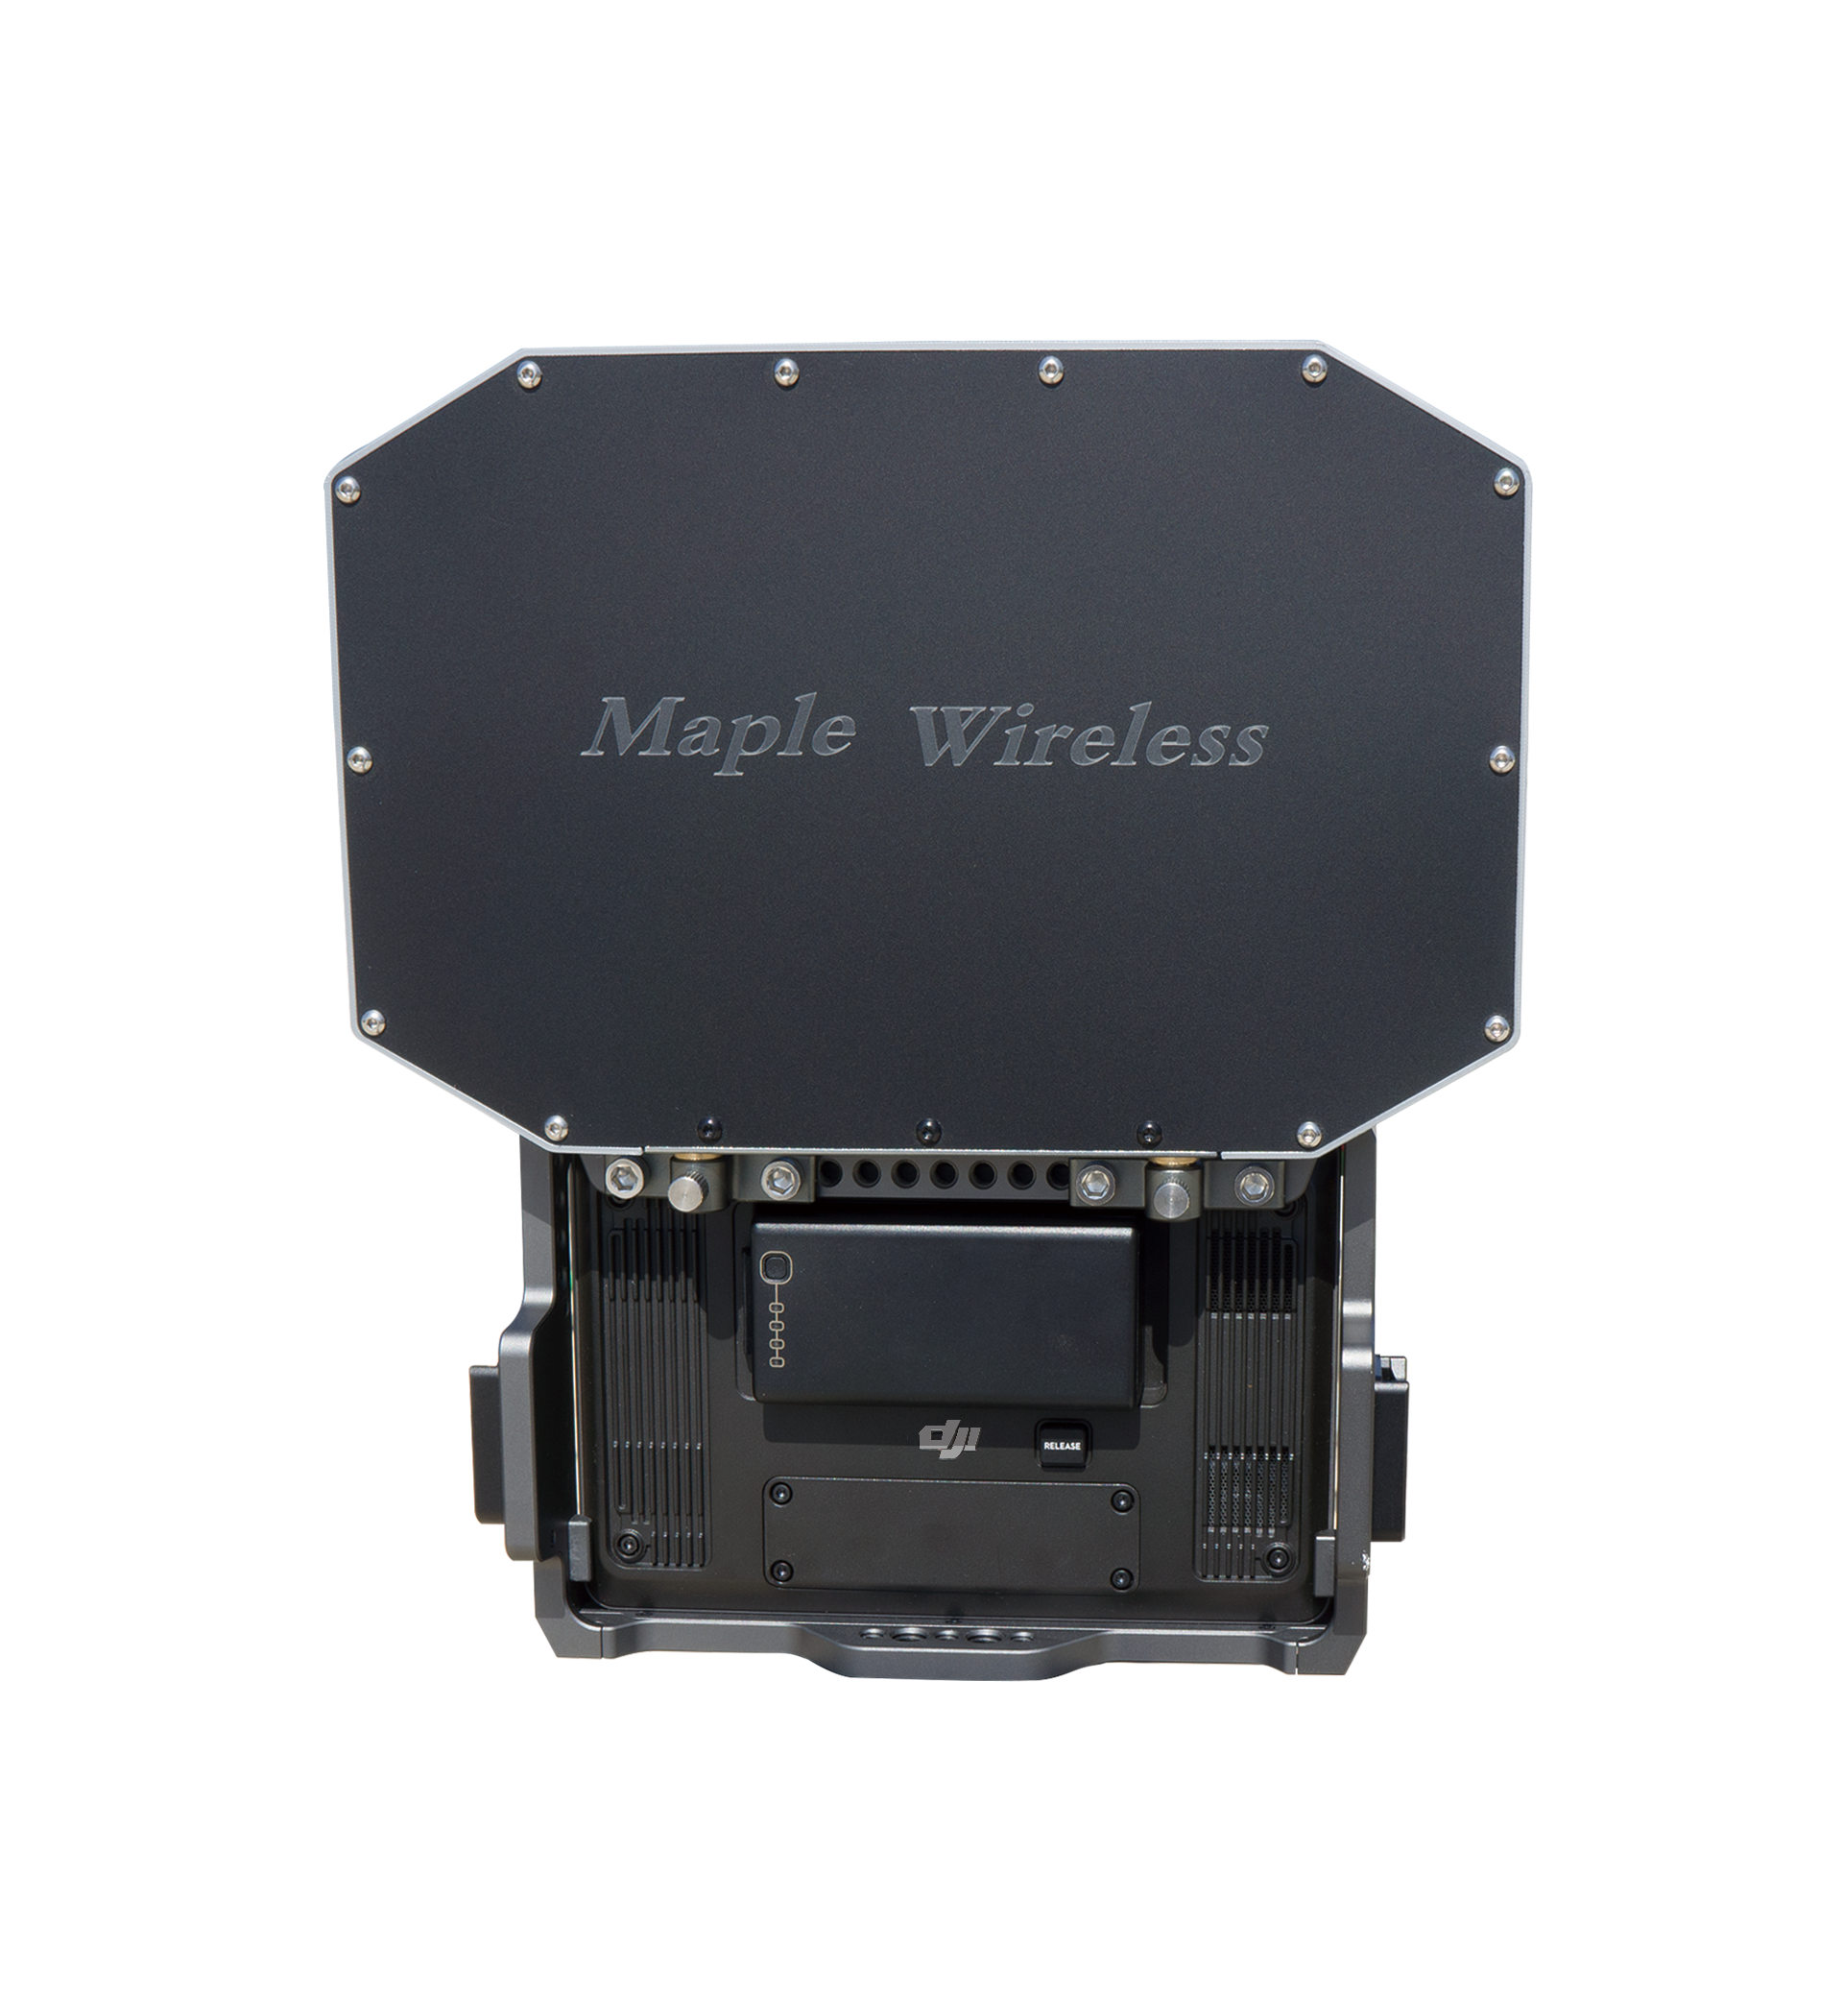
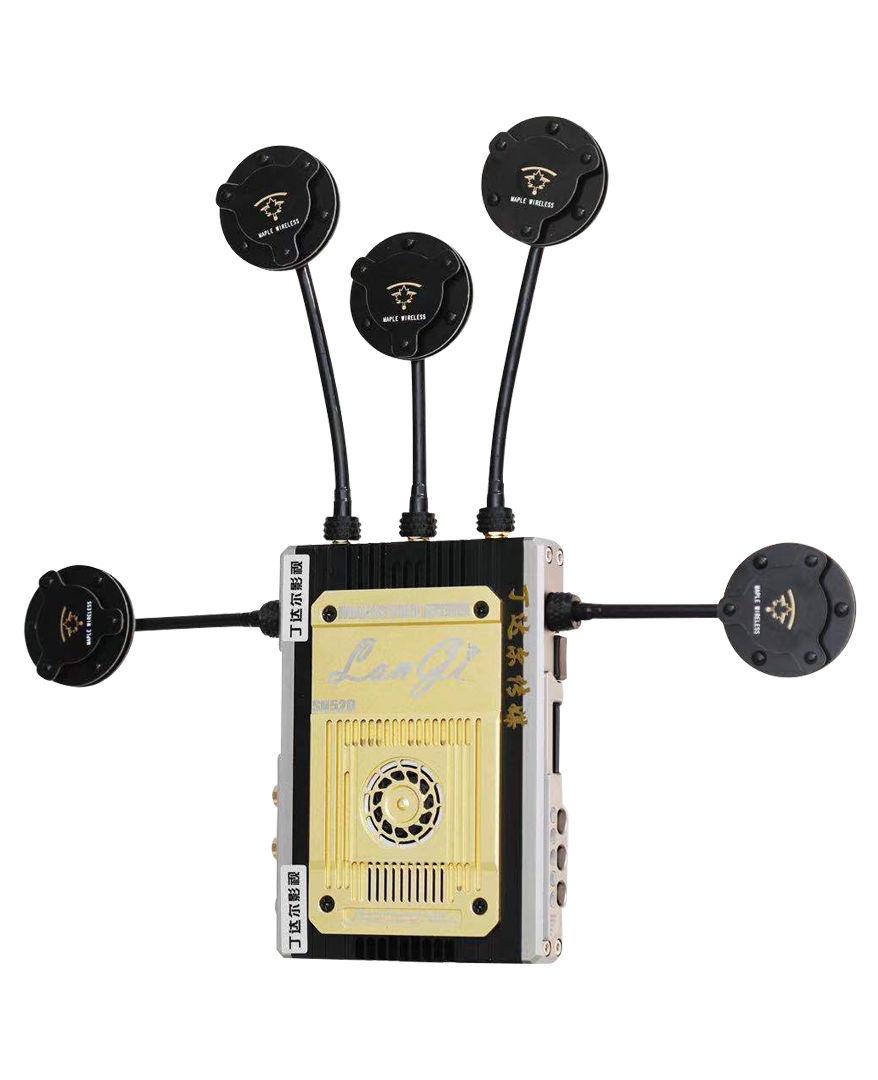
Figure 8 3)Antenna Installation Method Once the antenna is installed on the device, it can be used directly without the need for parameter adjustments. We will provide all necessary technical consultation and after-sales support to ensure filmmakers achieve optimal results during shooting. When reading this section, the basic introduction to the usage of DJI's professional HD video transmission system and the installation of the modified Transmission antenna has been completed. Next, the practical application effects after using the modified antenna will be demonstrated through two different videos.
淘宝店铺 枫叶天线-淘宝网 产品手册 枫叶无线 产品宣传手册.pdf |


